We are all of us stars , and we deserve to twinkle
-Marilyn Monroe
Showing posts with label Nail art. Show all posts

Rihanna leopard nails!

heyy i'm back my nails had enough rest for now so i'm doing my acrylic nails
i will do this rihanna nails they are soooo stunning.
hope you will like it!!!
xxxx
Comment

Glitter Glamour Nails

Hey there!
I couldn't find the stupid card :S
but as promised .. THE NAILS!!
I totally love them. their not perfect a little darker spots but its my first time working with Coloured acryl powder so there it is.!!
I used some cute rhinestones, and a cute salmon pink colour.
only the picture is a little bit dark.
Here a picture were you see the real colour but its a little blurry so...
told you its blurry haha.
anyway. I massaged some hand oil on my hands so they shine a bit on the picture you can see this & the ring finger at the curticle part , too shiney for a pic huh :P
well I really hope you liked this!!
and Sorry again but I will find this sd card someday maybe over a week or so but you WILL SEE THIS VIDEO I WORKED SO HARD FOR!!! grrr...
well byebyee
&&
Comment

Cute Plaid Nails

Hey girls!
I tought I'd share some cute nails with you.
And you can see the design above, its really cute!
I didn't made these myself but I will SOON! VERY SOON!
I know I didnt did what I promised the last 3/4 days but imma gonna make it up to you,
Today round about 5:30 pm you will get a really tasty & healthy fruit recipe from me!
So I hope you ''STAY TUNED'' and see it later.Okay,I'm getting off my subject.
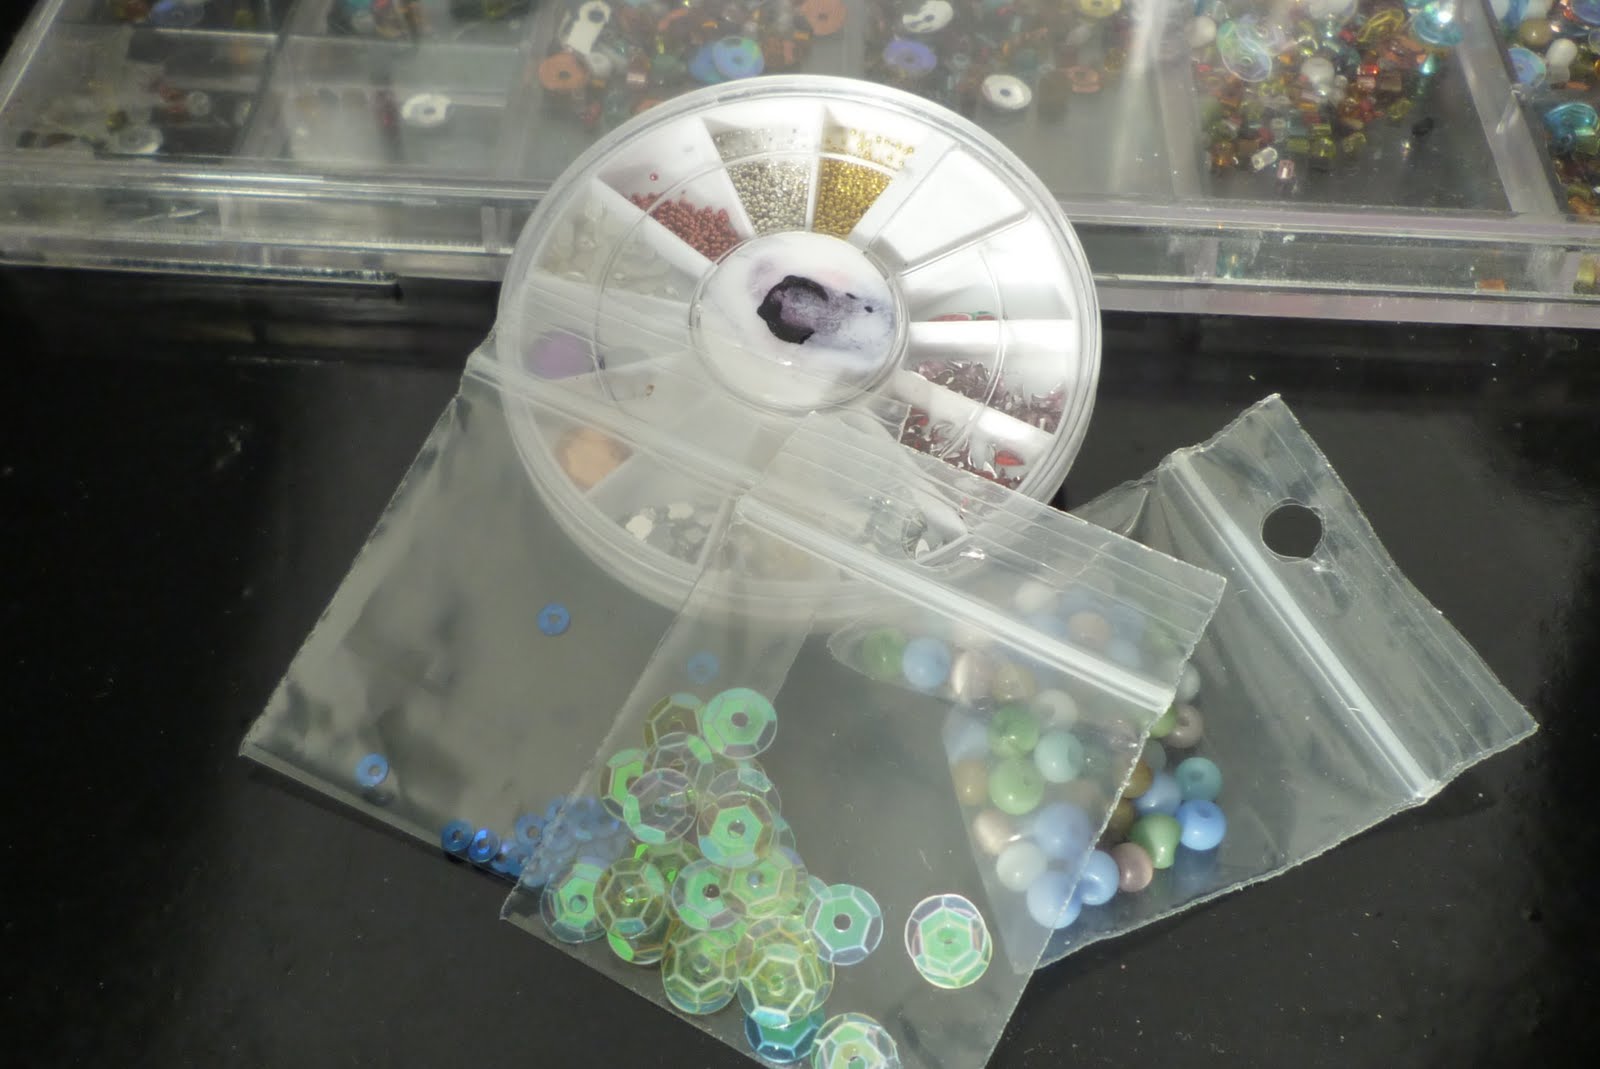
okay, back ^^ . There are these nails I wanted to share with you,
I bought them and they were really expensive but they accually came with some rhinestone's
& a orange stick so its like your ready & need nothing more (there was a good pink glue included)
only it was really expensive it was 11,00 Euro's wich I think thats expensive.
Most of the times my nails IF I buy them They are from 5,00 - 8,00 So that is much cheaper.
and again, SORRY FOR NOT POSTING THE EXTRA POST YESTERDAY but as I promised ,THIS IS THE EXTRA POST, I wanted to post it yesterday but forgot to publish it after writing it . really stupid I know...I am really sorry.But I hope that this makes it all okay.
when I'll do these nails, I will make a tutorial for you guys so you can make it yourself too!!
How's that ?
I hope you like these nails and that you forgive my mistakes.
Well, I hope you will enjoy and dont forget the yummy dessert recipe tonight!
xoxo
&&
Comment

How to prep your nails tutorial

How to prep your nails in a good/carefull way!
So how are you doing lady's?
ass the title says this will be an tutorial about how to prepare your nails & apply nail polish one of the right ways!
I'm not saying this is how EVERYONE should do it I'm just saying it is one of the right ways you SHOULD do it caus this way you will be a bit more carefull with your nails and they will be much more protected against nail damage
Remove the nail polish.
Take off old color with acetone polish remover on a cotton ball. (Note: Don’t use a tissue, it will fall apart and doesn’t really absorb the remover .)
Trim.
Cut and file nails to your length of choice. As for shape, there are two main options: square or rounded. And neither form will chip more than the other.I prefer a square shape, its more modern and looks cute
Soak.
Rest hands in a bowl of warm water for five minutes. Add two tablespoons of a bath powder or your favorite liquid soap to soften nails. Make sure the water’s not too hot or it will dry out your hands and nails. (If you don't have time, you can skip this step.)
Soften.
Apply cuticle oil or lotion on dry hands to soften rough spots.
Push curticle.
Use a cuticle stick to press cuticles back so they don’t get in the way of the polish. Some people prefer to cut their cuticles. but it’s best not to do this at home.Unless you’re a professional, you’re going to end up with cuts all along the side of your nails.Just push them back and keep it easy.
Scrub.
Exfoliate hands with a body scrub or homemade mixture of olive oil and kosher salt or raw sugar.I prefer sugar becaus you might have little cuts and salt burns into little cuts. Scrub for two to three minutes, then wash thoroughly.
Moisturize.
If you have dry hands then apply a rich moisturizer.
I used my palmers cocoa butter formula (: with avec vitamin e.
for rough & dry skin.
Polish.
Apply a base coat first, then apply two thin coats of polish. My favorite is coty paris from miss sporty . Finish with a top coat and your done.
And voila,
This is what i've done with my nails after preparing them (:
The first one is the first time i attempted to do these acrylic nails, that didnt worked out very well but i think I got what it takes to do acrylic nails now!!
The second one is my recent ones and the second time i did acrylics MYSELF!
I just totally love it!
Have a good day with your beautyfull looking nails
Comment

recycle your old jewerly/beads to nail art decorations

Hey Ladies
Here is a tutorial about how to make your own cute nail art supplie out off ould jewerly or beads you dont use.
The things you need is :
* Nails real or fake doesn't matter
(If you use a fake nail to practise on and you dont have such a fake finger to practise on you can glue a tooth pick on the back of the fake nail, let it dry and have your own good hold of it)
* Old jewerly or broken jewerly
(Like the things I used old broken bracelet pieces & Beads i never used caus their too small)
*Beads
(choose what kind of yourself)
* Nail glue
(I used BYB bond nailglue)
Pictures of the things I used click to view them bigger!!
The decorations
the colours I used
The lovers / paillettes
the whole package
The nails!
The first nail !!
Step one.
apply a base coat and then the colour you like. I used this nude/pinkish colour from miss sporty wich I used in my other nail ''tutorials'' called coty paris for an cute and still a kinda nude nail look.
Step two.
Apply some glue on a 1 cm rhinestone [you can apply a smaller one if you like] and a paillet/lover as seen in one of the pictures also with some glue.
Step three.
glue the whole nail and use the small silver beads now to put the ''sparkle'' on. wait like 3 minutes for it to dry.
Step four.
apply some glue on the nails & then the blue round / silver / white beads [you pick the colour yourself I used blue to hold on to one same colour] dont forget to add an bead on the lover/paillette to hide the hole wich is in the paillette.
Step five.
add a darker blue decoration [ i used the round blue one] IF YOU LIKE!!.
Finishing touch.
Add a topcoat and voila you have your own home decorated cute 3d nails
[ the black nails are done at the same way at these only with other colours if you'd like to have some more information you can leave a message with your email inside it or just cotact me!!
Comment

Cute drama dots

Drama dots
is what I like to call them
I saw this nails somewere I totaly forgot were!(the one in the picture are MINE)but if the real creator sees this plz mail me so I can put your credits here caus y
ou were my inspiration! anyhow check it out!!
From right to left the begin to the end.
Things I used.
  • Random topcoat
  • Coty Paris from Miss sporty.
  • White polish from Nail Star.
  • Pastel Pink from Nail Star.
  • Yellow Rhinestones.
  • Nail drill from Babyliss.
  • Old fake nails.
  • BYB nail glue.
  • A dotting pen.
  • Randon Top coat
Dont forget: you can allways use other tools or colours if you like!
Step 1 :
Smoothen & shape your nails till its not a thick nail like nails allways
are.And after the good shaping and filing the nails thinner you apply the false nail.
This is how the false nail should look like when its cleaned with the file:
(if you dont use false but real nails you should just file your nails into the shape you like.)
Step 2 :
Apply the nude colour as thick or thin as you want to:
Step 3 :
Apply the pink smile line and if you use nail star you need to apply at least 2 layers to get a full shining colour.
( use a piece of tape for an perfect straight smile line in case if your hand is shaky)
Apply the white dots & the Yellow rhinestoned and have an great day with your loveley nails.
Ps; this is my nail file drill I reaaally adore!
Its so handy and fast and its totally an product of my whole life I would reccomend!!!
BUT not everyone thinks the same so dont buy it becaus I love it!
Well i hope you really loved the design as much as I do!!
And dont forget to leave a message with your opinion about this design
I have a lot of designs waiting for you guys but I just want a little more followers caus I would have more respond/tips and such and yes I do still need that!!
well much love..
only the xoxo